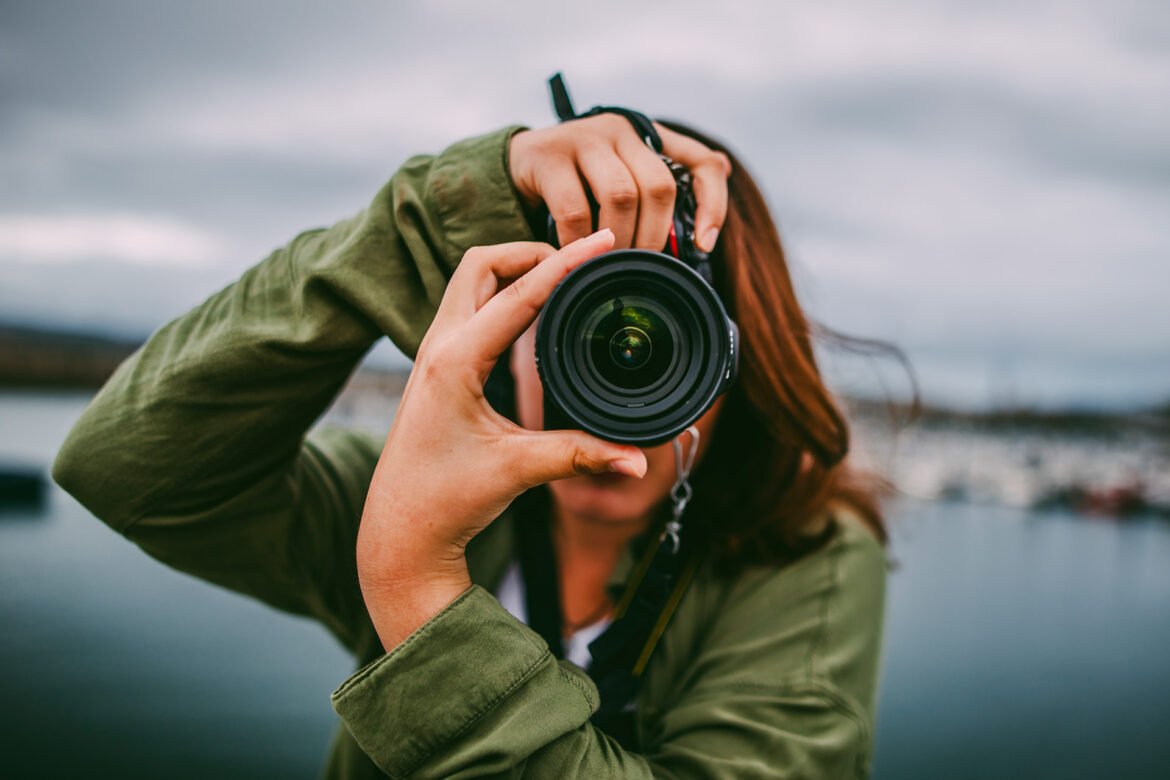
Ever since digital cameras became popular and affordable the average person has been wanting to take better pictures with their camera. With Digital SLR cameras becoming more and more popular as entry level prices seem to get lower and lower there tends to be more everyday people that want to get more out of their digital SLR. I have been a professional photographer now for 7 years and I am going to provide you with plenty of free information and tips on how to use your camera to get the most out of it.
Let’s make this clear from the start. You do not need the very best professional digital SLR to create stunning and amazing pictures. Everything you need is included in that little instruction book that comes with every digital SLR. Of course the problem with the instruction manual is that it doesn’t tell you exactly what you have to do in order to create a specific image setting.
There are three different things which will effect the exposure of any image you are going to take and we’ll teach you what each do and how to effectively use them. These are shutter speed, aperture and iso speed. Following the information I have below you will be able to step outside the automatic green box and start using the manual mode on your digital SLR which will allow you to get the best images possible. I hate to say it but even the automatic modes in my fancy $8,000 professional cameras are not overly intelligent. Learning to use the manual mode in your camera will allow you to create the best images possible.
Shutter Speed
Perhaps the most basic of the three. Shutter speed literally means how long the image sensor is exposed to light. Often most digital SLRs will range somewhere between 1/8000th of a second all the way up to 30 seconds.
In laymen’s terms, the longer the exposure the brighter the image will be. The slower the exposure the darker the image will be.
At the same time you need to consider that a fast shutter speed such as 1/8000th of a second will freeze action very well. Think of your kids playing hockey or a horse race. The faster the shutter speed the less blur you’ll notice in the image.
Slow shutter speeds are often used for rather intentional and special purposes. This could include anything from night photography, waterfalls or just about any scene where you want to intentionally create a slightly blurred image from the movement happening within the scene.
The standard for most portrait photography will range from 1/100th to 1/8000th of a second. This is the ideal range in order to create still images.
ISO Level
This is the easiest of the 3 to learn and master. It simply reflects how sensitive the sensor will be to light. A higher value will allow in more light but will create more noise within your images. A lower value will allow less light and create images that are cleaner with very little noise.
You will often want to set your camera on the lowest possible ISO setting to create the cleanest images possible. Situations where you would want to use a higher ISO setting would be anything indoors or where you might be taking photos in dim to low light.
Aperture
This tends to be the single trickiest part of photography to teach. Mainly because there are so many different aspects the aperture controls. Aperture controls two things at the same time.
1) how much light is travelling through the lens to reach the sensor.
2) how shallow the depth of field is.
When you look at any lens you have it will say something like, 24-70mm F2.8. The F2.8 number is known as the F stop level of the camera. This means that F2.8 is as fast as this lens can shoot. Alternatively you will see lenses that have a range, for example 18-55mm F3.5-5.6. This would simply imply the fastest F stop will range from F3.5 to F5.6 depending on the focal length you are shooting at.
In simplest terms the smaller the F stop, say F1.2, more light will travel through the lens to the sensor. A number like F16 is allow less light.
Depth of field is at the same time controlled by the same F stop value. Depth of field is simply the distance of the image which is actually in focus. The lower the F stop value (F1.2) the smaller the depth of field will be. So much so that F1.2 will actually have an area of just a couple of inches completely and perfectly in focus. The background of the image will often be relatively blurry and in some cases beautifully creamy. A large F stop such as F16 will create a wide depth of field which is often where useful for landscape photography to capture an entire scene.
These three variables independently effect each other to create the perfect exposure for a given scene. In my next article I will teach you how to use them to create the perfectly exposed picture without using that green box automatic mode on the camera. The automatic mode will create some very bland images which don’t have any dramatic appeal to them. Afterall you paid good money for the digital SLR so you should get the most from it!
